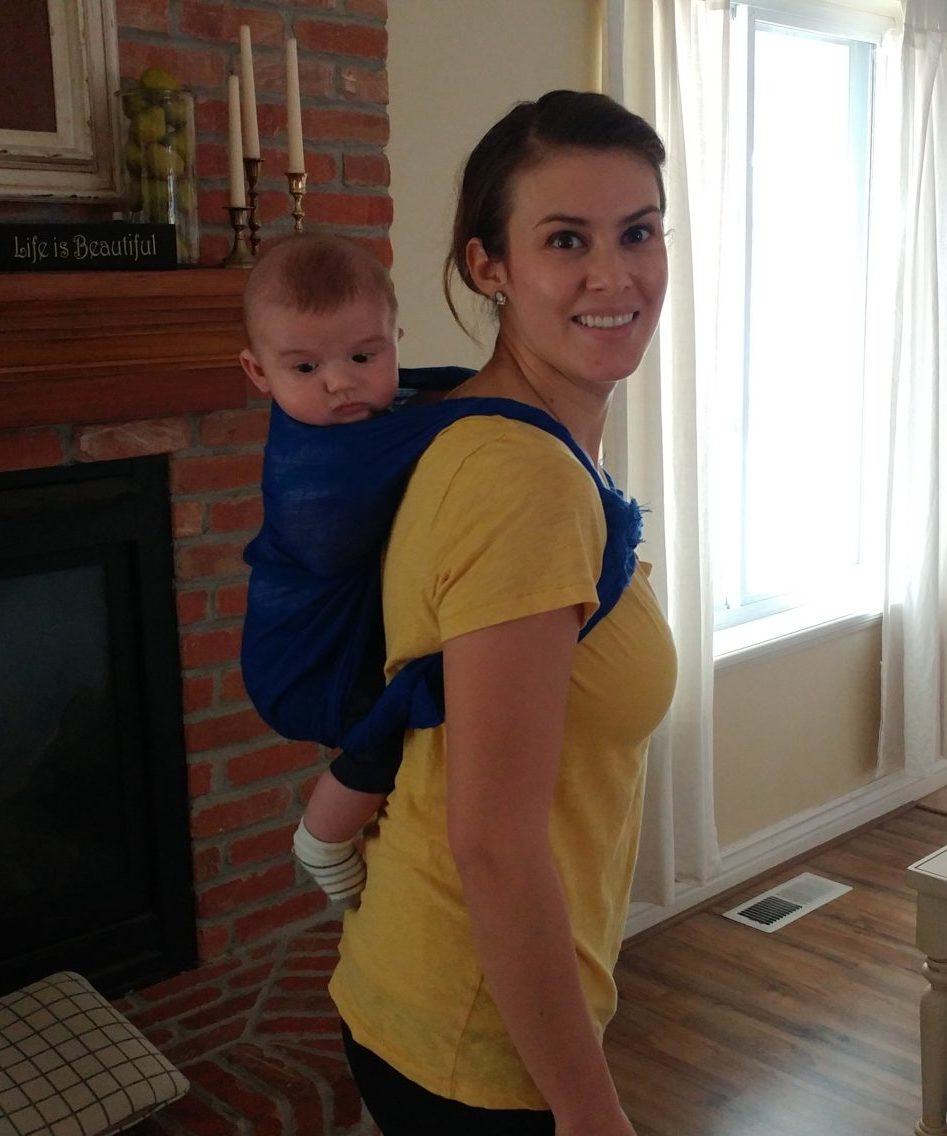
Babies are a joy! They love to be held and cuddled, which is delightful, but sometimes things need to get done that you can’t do while holding a baby. I know that women from different regions around the world tie their babies onto their backs. This lets them have their hands free so can go about their activities. I have thought that wasa great way to take care of your baby and wished I knew how to do it. Back when I was young and having babies I tried a commercial baby backpack. It was helpful, I used it around the house, fixing dinner, vacuuming, and mowing the lawn. There were some problems with it though. First of all, a baby needed to be about 6 months old before they could hold themselves up in it so it wouldn’t work for a small baby. Also, it was big and bulky, not very convenient. Now I have grandkids and I decided we have to learn a better way. After doing some research and lots of practice we have found this method to tie your baby on your back using a fabric wrap.
Make a baby wrap
A wrap is basically just a strip of fabric that is wide enough to hold the baby and long enough to tie around you securely. We have found that a wrap about 30 inches wide is great for the baby and a length of 12 feet is good for an average sized woman. If you are larger you will want to add some length to your wrap. You will see in the diagram below that I have added a strip of fabric in the center. I call this my safety strip. In the video, you will see how it is used. It is optional. Women who are really good at wrapping don’t need it, but it helps me feel more secure especially as I was learning to get the baby on my back.

Fabric generally comes in two widths, 45 inches, or 60 inches. For making a baby wrap you will want to use 60-inch fabric and get 4 yards. This will make two wraps so you can give one to a friend. The best fabric for a wrap will be a soft woven fabric that drapes nicely. You don’t want to use something that is stiff or stretchy.

Fold your fabric in half the entire length. Carefully line up the edges and pin them together so that it won’t slip as you are cutting. You may want to iron it and make a center crease as a guide to help you cut. Cut the folded edge the whole length of fabric. You will now have two identical pieces.
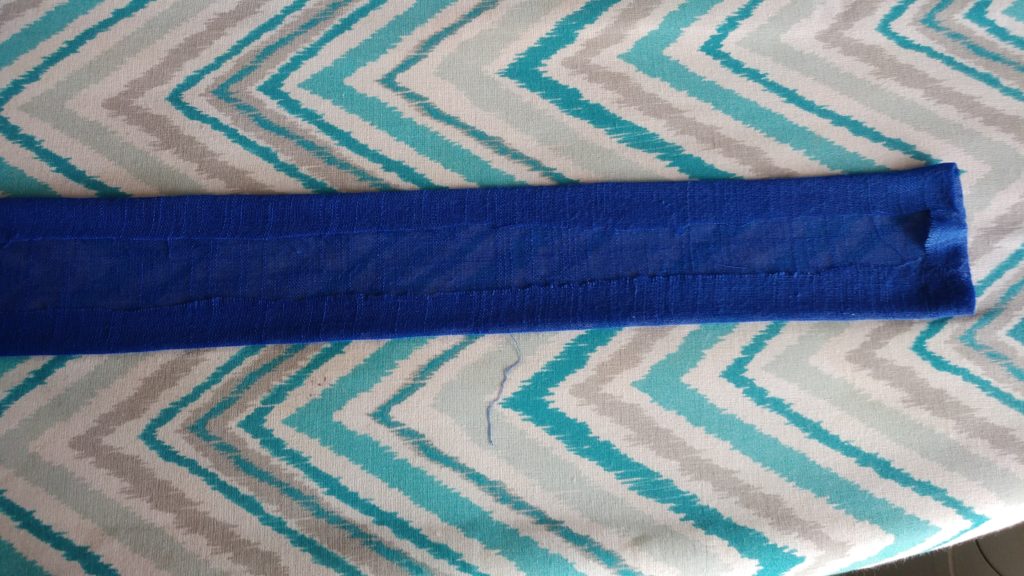
To make the center strip you will want to cut a 4in strip off of one end of your wrap and set it aside.

You will now need to finish the rough edges of your wrap. If you have access to a serger you can serge around the edges, if not, you can fold the raw edges under twice and stitch along the edge with a sewing machine. You could even sew it by hand if you don’t have access to a machine.
Now to make your center strip, take the 4-inch strip that you cut off, fold in both ends and also both sides about a half inch and iron them down.
Fold it in half lining up the edges and iron it.
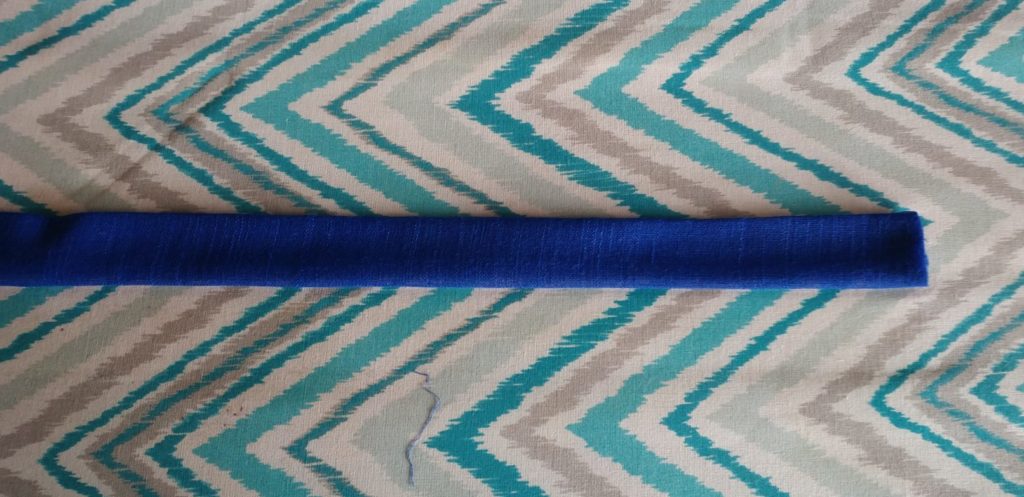
Sew the two folded edges together so that all rough edges are now on the inside.
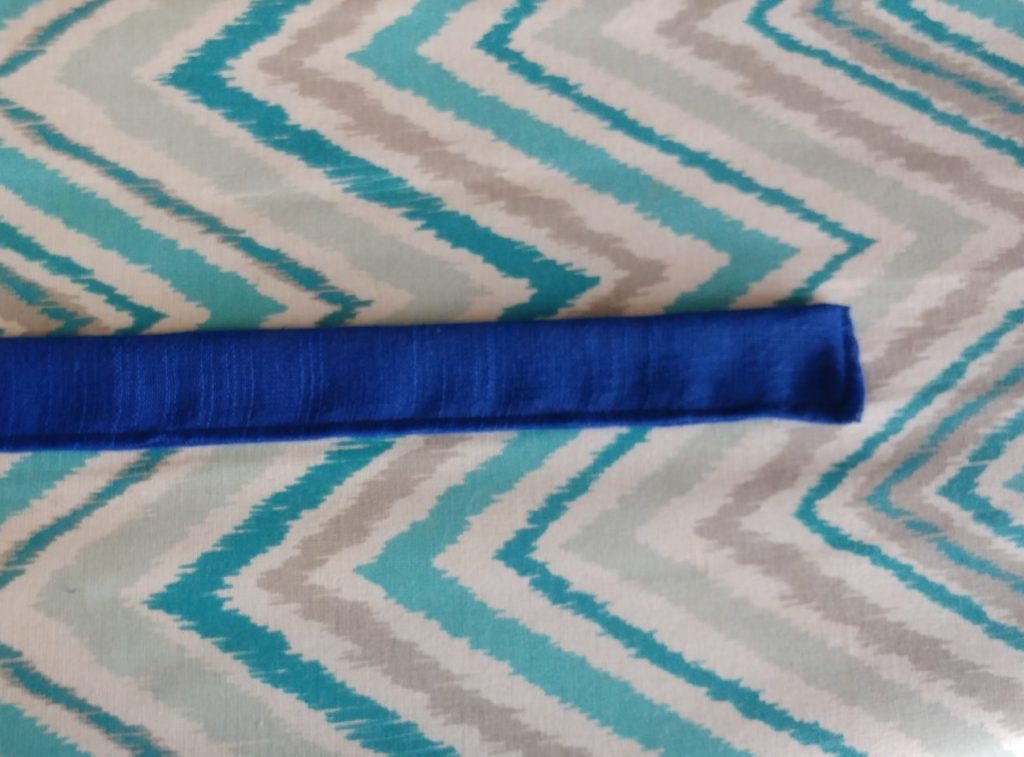
Find the center of the wrap by folding it in half. Position the strip in the center at the edge of one side as shown in the diagram. Sew it down securely.
Your wrap is now finished and we will show you how to tie it on your back in the following video.
How to use your wrap
It will take a little practice before you can feel confident getting your baby on your back. When you first try it don’t do it on your own. As you are learning make sure you have someone to help you as you practice.
In the beginning, you will probably get a little tired wearing your baby on your back. But as you continue you and your baby will get used to it and you will be amazed at all the projects you can do now!
