I love apple season! There isn’t much better in life than going outside and picking a juicy ripe apple off the tree. And there are so many fun things you can do if you have a lot of apples. In the next few posts, I will show you some of the ways I use and preserve my apples. Today I will talk about three methods of dehydrating apple slices.
Drying apples on a food dehydrator
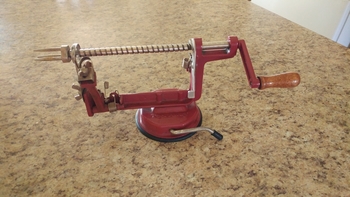
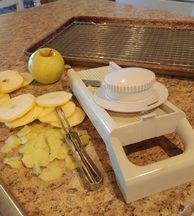
My preferred method will require two of pieces of equipment:
- an apple peeler, corer, slicer
- a food dehydrator
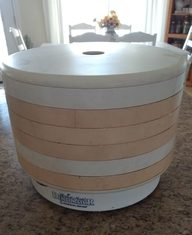
Neither of these items is super expensive, and they can be used year after year and will make the job much quicker and easier.
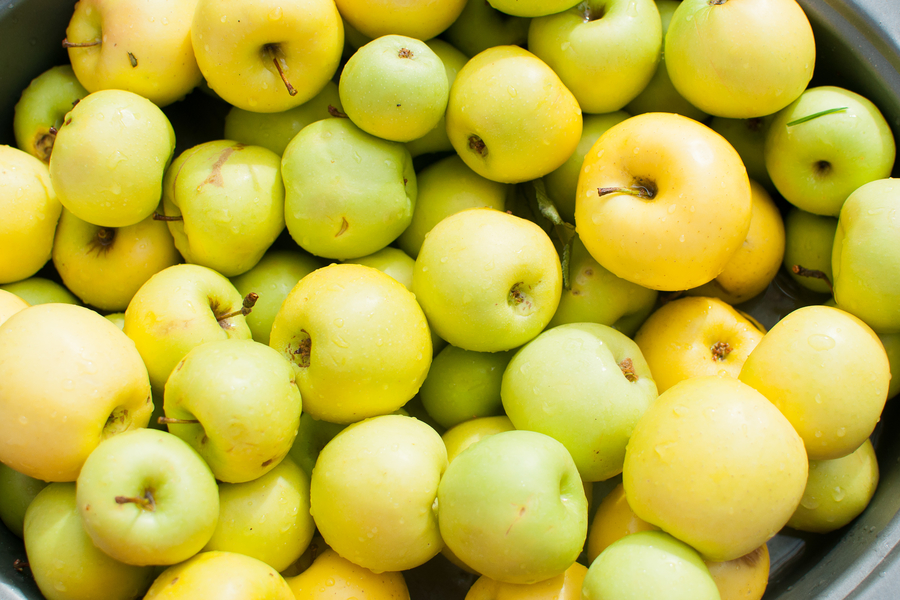
For making apple slices you will want to use firm apples with a rather uniform shape, free from worms or rotten spots.
I will show you how to do this in the following video.
It will probably take 14-18 hours to dry. It is not a precise time because dryers are different and weather conditions also affect the drying time. You will want to check on them after 10 or 12 hours to see how they are doing and remember that if they are completely dry they will be a little crisp after they cool down.
Drying apples in the oven
The second method to dry apples only requires an oven. You may want to use a mandolin slicer and a potato peeler.
- Wash your apples
- You may want to peel them. A regular potato peeler will work.
- slice very thinly (I would recommend a mandolin slicer to keep a uniform thickness)
- place parchment paper or a cooling rack on a cookie sheet
- You may want to slice them in half and remove the core, or you may want to leave them whole to keep the cute star pattern in the center.
- Spread apple slices on the cookie sheet
- Bake at 170 degrees. This will take 5-6 hours. If you want to speed it up a little you can raise the temperature to 200 degrees, but you will want to keep an eye on them so that you don’t scorch them.

Drying apples in the sun
A third method of drying apples requires an old window screen, some dishtowels, and clips.
- Prepare the apples by slicing and peeling them
- spread them on a screen
- Cover with dishtowels or cheesecloth and use clips to hold the cloths in place.
- Place them in the sun to dry.
This method will probably take a couple of weeks if you have good weather. Unfortunately, for me by the time my apples are ripe, the weather is getting too cold for successful drying.
- I show the process of sun drying fruit in more detail in my post called “Making Raisins” http://itsjustaproject.com/making-raisins/
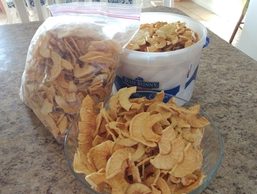
Storing Dried Apples
In my family, we just use dried apples for snacking and so I want to maintain the freshness that they have when they are removed from the dryer. I have found that if I store them in the freezer they will maintain the quality they started with. I like to put them in an empty ice cream bucket or a ziplock bag and then store them in the freezer.